|
Best way to deinterlace video in Video Enhancer
|
Many video formats like DV and DVD contain interlaced video: when original footage is
shot at 60 frames per second and each two consecutive frames are stored as even and odd
lines of one big frame transmitted at 30 frames per second. TV screen follows this pattern
and shows first even lines, then odd ones, so you see 60 half-frames (called fields) per second.
But computer monitors and plasma TVs show each frame as a whole, and interlaced video looks
like this:

You see both fields at the same time, although they are different frames shot at different times combined in one image.
To get rid of this combing effect one needs to deinterlace the video.
Video Enhancer can do it using VirtualDub filters.
The one called "deinterlace - area based" by Gunnar Thalin provides one of the best
results in converting interlaced video to progressive.
This tutorial will show how to install and use this filter with Video Enhancer.
|
Adding filters to Video Enhancer
Video Enhancer must be in advanced mode in order to be able to use VirtualDub filters.
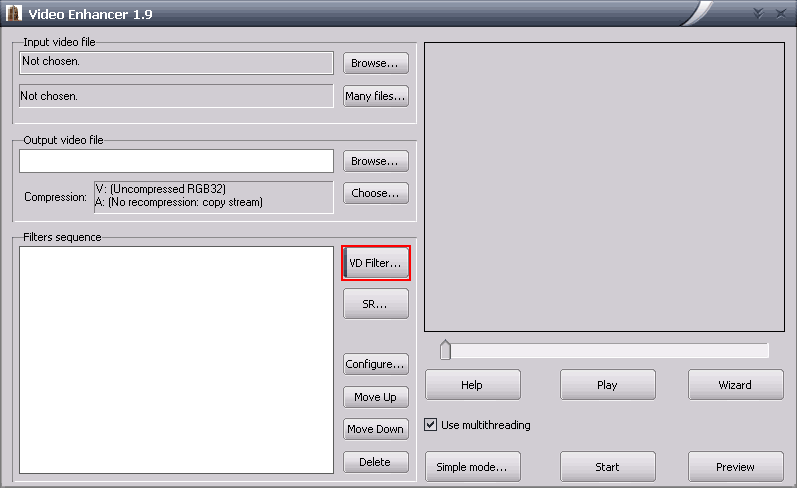
Click on the "VD Filter..." button to add filters to Video Enhancer.
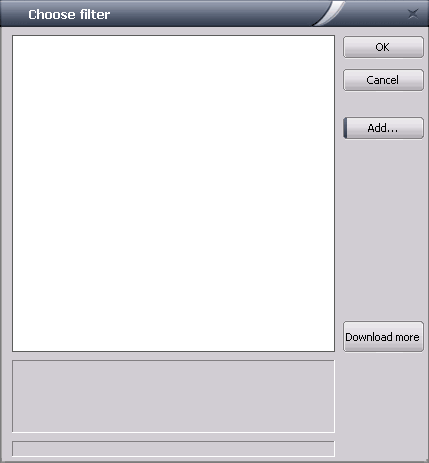
Initially Video Enhancer list of filters will be empty. But you can add more than 200 useful VirtualDub filters to make Video Enhancer much more versatile.
You can download a collection of selected recommended filters which includes "deinterlace - area based".
If you download and install the VDFilterPack, all the filters will be automatically installed for you in VideoEnhancer.
Deinterlace - area based can also be downloaded directly from its website.
Click on the "Add..." button to add additional filters to VideoEnhancer.
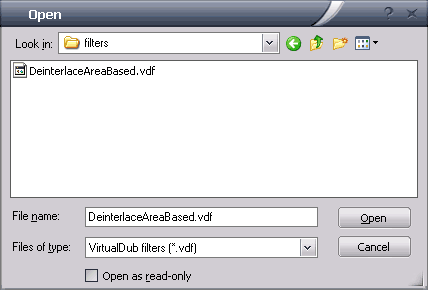
Browse to the folder where your VirtualDub filters are located.
Click on the .vdf file to add the individual filter to VideoEnhancer.
|
Open video file in Video Enhancer
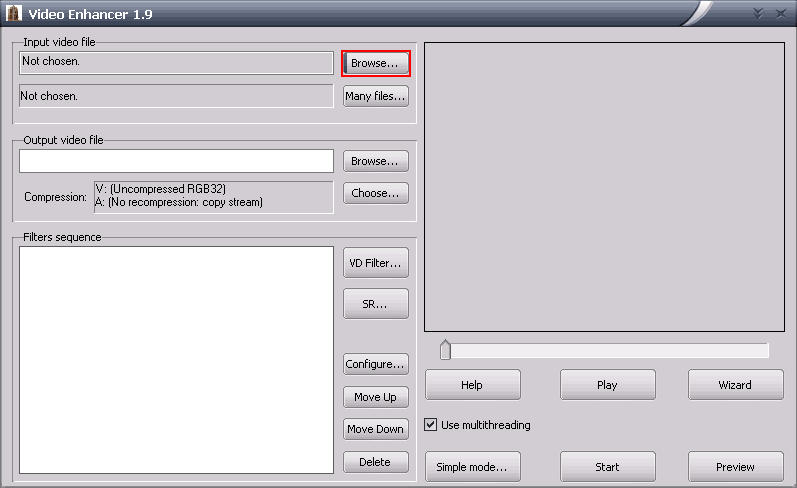
To open the video which needs to be deinterlaced, click on the "Browse" button at the top.
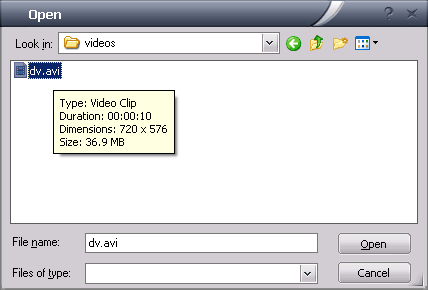
Locate your video file.
If you place your mouse cursor over a video, you will see information about it.
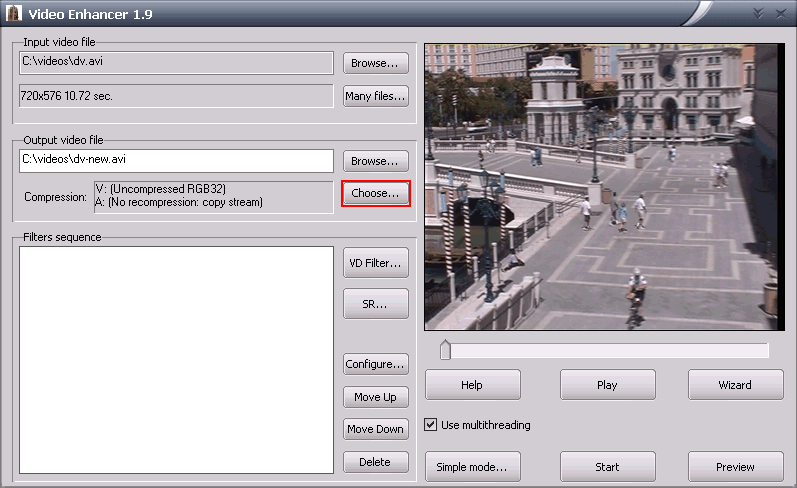
After opening the video, you will see a preview of it to the right.
Click on the "Choose..." button to configure the output video and audio codec.
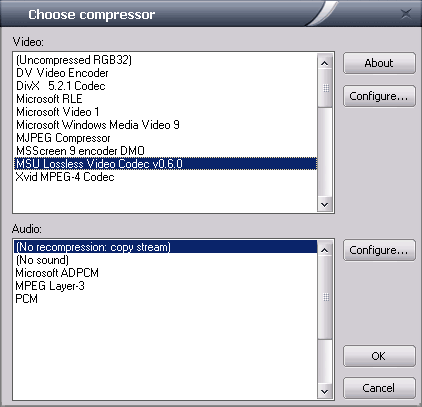
You should choose a compression for the video.
In this case a lossless codec was chosen.
|
Using filters in Video Enhancer
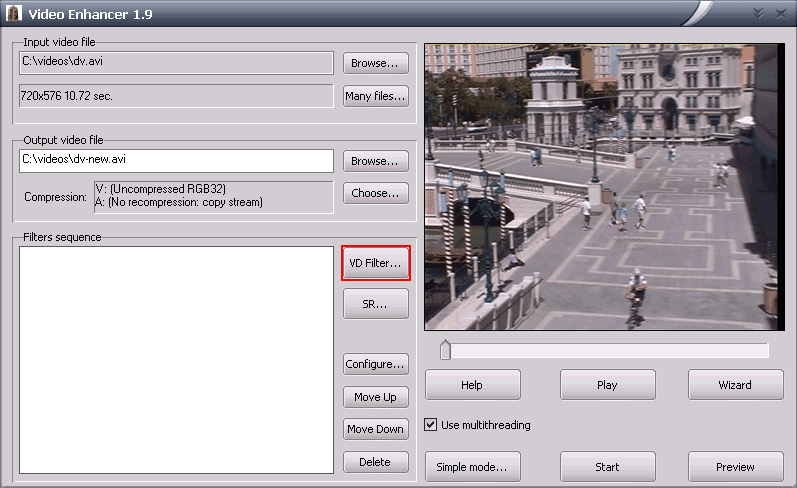
Click on the "VD Filter..." button to add filters to your video.
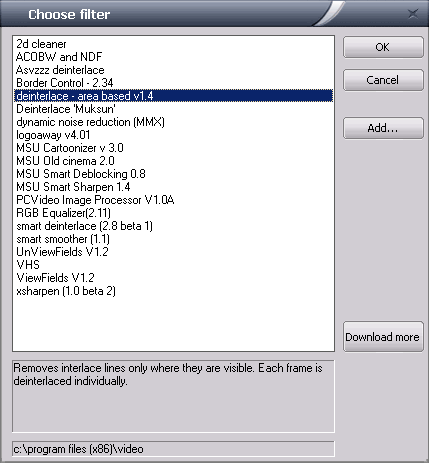
Choose "deinterlace - area based v1.4" from the filter list.
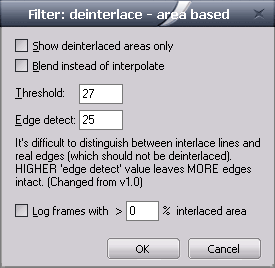
You will be presented with this configuration dialog.
- Show deinterlaced areas only
Show areas detected with interlaced lines which will be deinterlaced.
Gray areas are left untouched.
This is useful to check different settings and see what will be deinterlaced.
- Blend instead of interpolate
Use blend instead of interpolation on areas deteced as interlaced.
Recommended to disable this setting since it will most of the time make the result unsharp.
- Threshold
Controls how much to deinterlace. Lower values deinterlaces more.
If interlaced lines are still visible, use a lower value.
- Edge detect
Controls the desicion to distinguish between interlace lines and real edges which should not be deinterlaced.
Higher value leaves more edges intact.
- Log frames with
Frames that have an interlaced area exceeding the given number of percent can be logged to a file.
For advanced analisys of video.
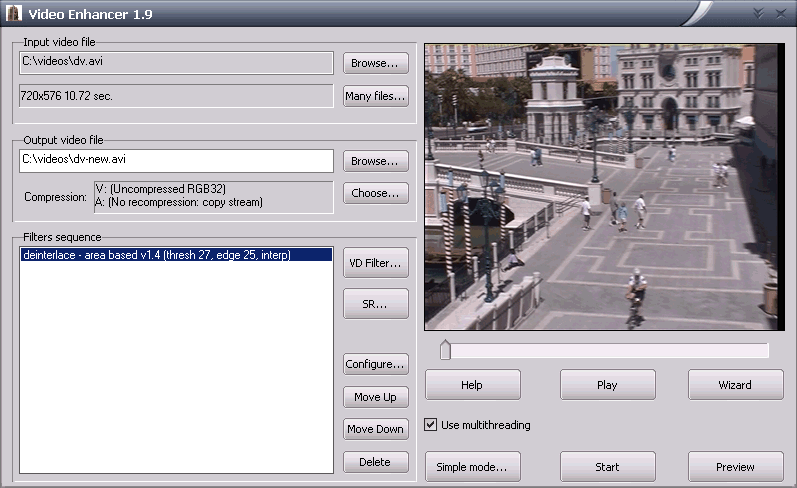
Filters which will be applied to the video will be listed under
"Filters sequence". You can add more filters to the list.
Beware of the order of the filters: they will be applied in the order they are shown in this list.
|
|
|
